How to Black Out Text in a PDF for Free (and Check It Is Really Gone)
Drawing a black box over text in a PDF often leaves the words underneath, still copyable. Here is how to black out information properly for free, and a two-minute test to prove it worked.
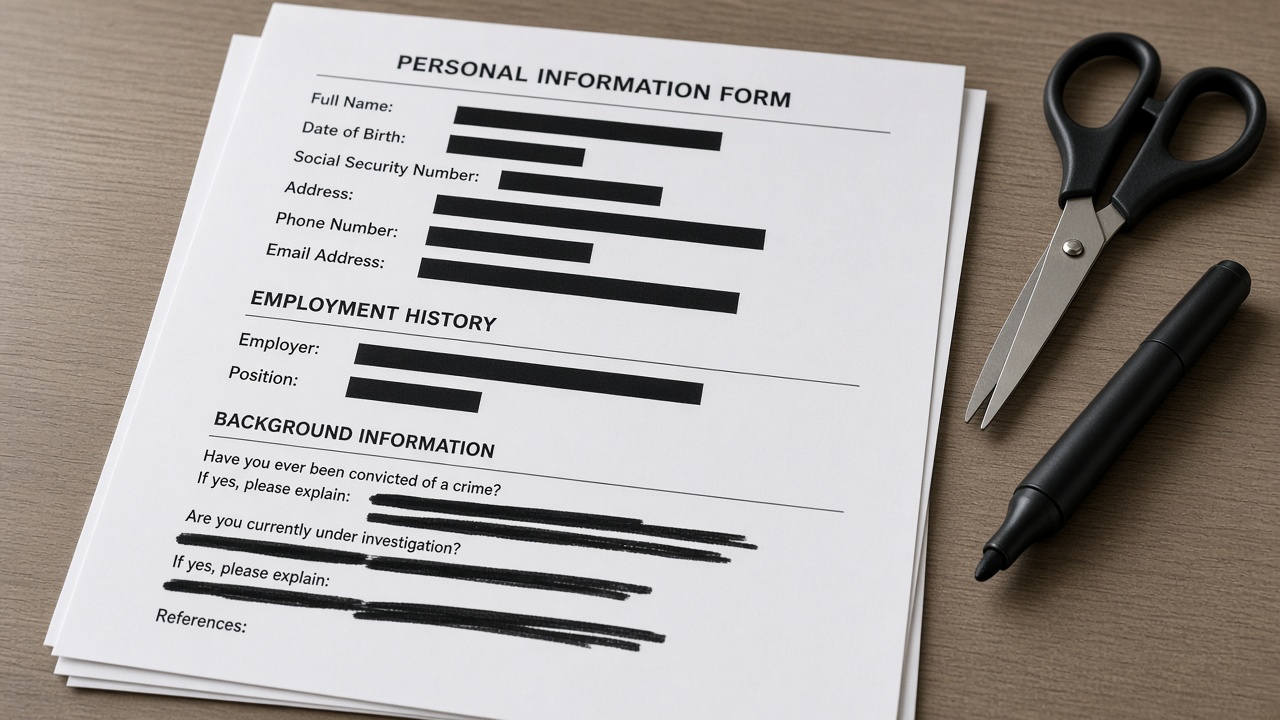
Blacking out part of a PDF sounds like it should take ten seconds. Draw a black rectangle over the account number, save, send. The trouble is that in a lot of PDFs, the rectangle is just a shape sitting on top of the text. The words are still in the file. Anyone who drags their cursor across the black bar, or pastes the page into a text editor, can read them.
This has caught out law firms, government agencies, and large companies, many of them in court filings that journalists then read by copying the "redacted" text. It is an easy mistake, and it is just as easy to avoid once you know the trick: after you black something out, you flatten the page so there is no text left underneath.
Why a black box is not enough
A PDF page is built in layers. Text is stored as actual characters with positions, not as a picture of letters. When most editors, including many free ones, add a black rectangle, they add it as another object on top. On screen and on paper it looks covered. Inside the file, the original characters are still there, and so is any hidden metadata.
Proper redaction tools delete the underlying content. If you do not have one, you can get the same result by turning each page into an image. An image has no text layer, so whatever was under the box is gone for good.
The free method, step by step
This uses three tools that all run in your browser, so the document never leaves your computer.
- Cover the sensitive area. Open PDF Redact and load your file. It draws an opaque black band at the same position on every page, which suits headers, footers, and account lines that repeat. Set where the band starts from the top of the page and how tall it is, both as percentages, then apply it and download the result.
- Flatten the pages. Load that file into PDF to Images to turn every page into a picture. This is the step that removes the hidden text.
- Rebuild the PDF. Put the images back into a single document with Images to PDF, keeping the pages in order.
- Test it, using the checks below, before you send it anywhere.
If the information you need to hide is in a different spot on each page, such as a name in the middle of a paragraph, the repeating band will not fit. In that case, use any editor you trust to draw the boxes, then do steps 2 to 4 exactly the same way. Flattening is what makes it safe, whichever tool drew the boxes.
A two-minute test before you send it
Do not trust how it looks. Check the file itself.
- Select across the black area. Open the final PDF, press Ctrl+A (Cmd+A on a Mac) and copy. Paste into a plain text editor. On a flattened file you should get nothing, or only a few stray characters.
- Search for the hidden word. Use the viewer's find feature to search for part of the text you covered, like the last four digits of the account number. It should find nothing.
- Check more than the first page. Scroll to a middle and a last page and make sure the band covers the text there too. Page sizes are not always consistent.
- Look at the document properties. Titles, author names, and comments can contain details you meant to hide. Most viewers show these under File, then Properties.
The trade-offs of flattening
Flattening fixes the problem, but it changes the file in ways you should expect. The text is no longer searchable or selectable anywhere in the document, not just under the boxes. Screen readers cannot read it. File size usually grows for text-heavy documents, since pictures take more space than characters, though scans may barely change.
For most sharing, such as sending a statement to a landlord or a payslip to a lender, none of this matters. If the recipient needs to search the document, share a flattened copy of the pages with sensitive content and keep the rest as they were, combining them with PDF Merge.
What people forget to black out
- Account and card numbers in page headers and footers, which repeat on every page.
- Barcodes and QR codes, which can encode the same number you covered in text.
- Signatures, if the recipient only needs to know the document was signed.
- Reference numbers that, combined with a name, are enough to call a bank or provider.
- Email threads printed to PDF, where addresses appear again in quoted replies further down.
When a free method is not enough
If you redact documents for legal discovery, healthcare records, or regulated filings, use software built for it, such as Adobe Acrobat Pro's redaction feature, which removes the underlying content and can search for patterns across hundreds of pages. Follow your organisation's procedure. The free method above is good for everyday personal and small-business documents, where the goal is simply to make sure the covered text cannot be recovered.
Frequently asked questions
Can someone remove a black box from a PDF?
If the box was only drawn on top of the text, yes. The text underneath can often be selected, copied, or revealed by deleting the shape. Flattening the page into an image removes the text so there is nothing left to recover.
How do I black out text in a PDF for free?
Cover the text with a black box using a free tool such as PDF Redact, convert the pages to images with PDF to Images, then rebuild the document with Images to PDF. Finally, try copying and searching the covered text to confirm it is gone.
Is my PDF uploaded when I use these tools?
No. PDF Redact, PDF to Images, and Images to PDF all process the file in your browser. The document stays on your device.
Will the PDF still be searchable after flattening?
No. Flattening turns every page into an image, so the whole document stops being searchable. Flatten only the pages that contain sensitive information if searchability matters.
Sources and further reading
- Adobe Acrobat Help: Removing sensitive content from PDFs - how dedicated redaction differs from drawing a box
- pdf.js by Mozilla - the open-source renderer used to turn pages into images in your browser